My friend BBoySpectre has an idea for a boat ride where people can be on the boa and can move around with their arrow keys as usual. He doesn’t want them to fly off the boat as it moves, so he has in mind they’ll be sitting on prims, like pose balls, that are part of the boat, and when they use their arrow keys, the prims will move them around, and animations will make them walk, and so on. This is an interesting and ambitious project, and I hope he’s successful with it.
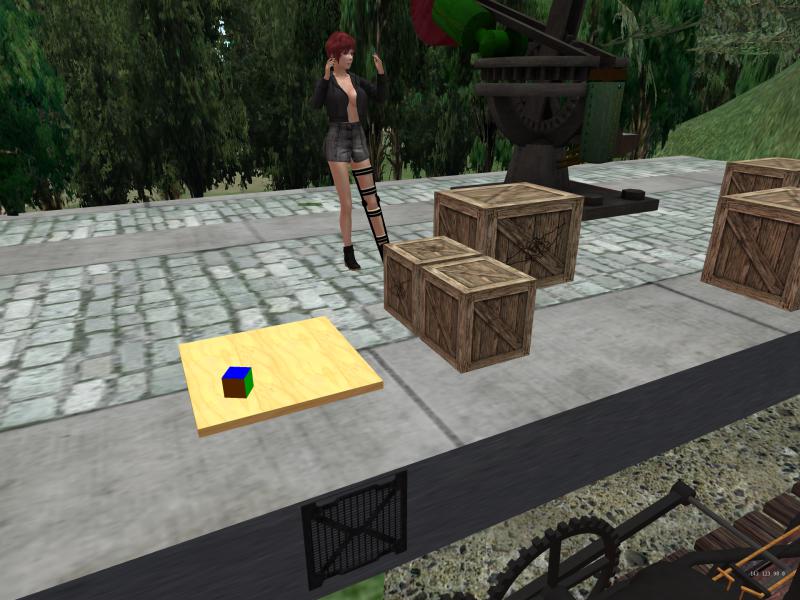
BBoy asked me to tell him how to move child prims around, since he didn’t know how to do that part. He’s a wizard with vehicles and controls, but the prim thing isn’t in his toolkit yet. So I wrote a little script to show him the rudiments of how we do it. He picked up on the idea and thinks he knows where to go next. Of course I’ll help him if he needs it. Anyway, I wanted to share with you what I showed him and talk a bit about it. I built this tiny toy object with a floor and a prim to demonstrate the technique:
I wrote a little script that listens to channel 10, for “turn” and “step”. If it hears turn, it rotates the child prim by 15 degrees. If it hears “step”, it steps forward a tiny bit 0.05 meters. What BBoy needed to know, and what we’re describing here, is how to do those things. Very elementary, but if you don’t know how, it’s not obvious. I did it in this case with a script in the child prim, because each person in BBoy’s boat will have their own pose prim, so there will be controls for each person. In another application, I might have controlled the child from the root. Anyway, we’re just here to understand the basics of turning and stepping.
WordPress isn’t very cooperative about code with vectors in it, so I’ll try to make this work, but I’ve also put the script on pastebin, so we can look at it there:
Here’s the code as well:
// turn and move child prim on chat commands
// JR 2018-09-22

turn() {
  llSetText("turn", <1,1,1>, 1);
  rotation smallAngle = llEuler2Rot(<0,0,15>*DEG_TO_RAD);
  rotation newRot = smallAngle*llGetLocalRot();
  llSetLocalRot(newRot);
}

step() {
  llSetText("step", <1,1,1>, 1);
  vector forward = <0.05,0,0>; // short step on X
  vector toMove = forward*llGetLocalRot(); // point as I point
  vector newPos = llGetLocalPos()+toMove;
  llSetPos(newPos);
}

process(string message) {
  if ( message == "turn") {
    turn();
  } else if ( message == "step" ) {
    step();
  } else {
    llWhisper(0, "impossible");
  }
}

default {
  state_entry() {
    llListen(10, "", "", "turn");
    llListen(10, "", "", "step");
  }

  listen(integer channel, string name, key id, string message) {
    process(message);
  }
}
Now all we really need to talk about are the two little functions, turn and step. The rest is just boilerplate to make things happen. First let’s look at turn:
turn() {
  llSetText("turn", <1,1,1>, 1);
  rotation smallAngle = llEuler2Rot(<0,0,15>*DEG_TO_RAD);
  rotation newRot = smallAngle*llGetLocalRot();
  llSetLocalRot(newRot);
}
We need to create a rotation that says “rotate 15 degrees around the z axis. Z is the vertical axis, of course, so that just means turn by 15 degrees. So our rotation “smallAngle” is created by converting the 15 degrees in z to radians, then converting the whole vector to a rotation using llEuler2Rot. Small angle is now a rotation whose meaning is “turn 15 degrees around z”.
If rotations were more obvious, we’d add our smallAngle to our current rotation and that would be our new rotation. But with rotations, we don’t add, we multiply. And we multiply, in this case, on the left, because multiply on the left means to do it locally. (I’m honestly not sure what would happen if we did it the other way. You can try it and find out. Sometimes things work either way, sometimes they don’t. I find it best to go by the book.)
Anyway, our new rotation, newRot should be our small rotation smallAngle, times the old one, which we get from llGetLocalRot(). Then we just set our prims’s local rotation, and voila it turns. Takes longer to explain than to do.
So that’s turning our prim. Not a big deal. But we want to move it on the “step” command, and that’s a bit more tricky. Let’s think how we’d do it “by hand”. We’re going to make our prim move in the direction of its +X face. That’s how vehicles mostly work and how I mostly work. The little prim in the picture has green on its +X face (and blue, for sky, on the top).
Now suppose our prim was facing east, that is in the +X direction on our floor. Well, then if its local position on the floor was at x = 1 and y = 1, and we wanted to move forward 0.05, we’d go to x = 1 + 0.05, y = 1. But if it was facing north, then to move our x face forward, we’d have to move in the y direction, so we’d move to x = 1 y = 1.05. Right? So how do we do that? It turns out there’s a standard way.
Given a vector V like (1,0,0) (I’m using parens here, not angle brackets, because WordPress hates angle brackets), given a vector V like (1,0,0), if we had a rotation that meant turn 90 degrees to the left, call it rot90, then Vrot90 would rotate V and return (0,1,0). If we used rot45 instead, Vrot45 would be (0.70711,0.70711,0) or 45 degrees around. (0.70711 is square root of two over two, which is where x and y end up when you turn a unit vector.)
So it turns out that given any rotation, around z in our case but really any rotation, if we multiply an x-forward vector times that rotation, we get that same vector, but turned. So, stick with me here, if we want to step forward 0.05 meters, we can take (0.05,0,0) times our current rotation … and that is the direction and distance we should step. Add that to our current location and that’s where we should go. And that’s what our function step does. Take a look:
step() {
  llSetText("step", <1,1,1>, 1);
  vector forward = <0.05,0,0>; // short step on X
  vector toMove = forward*llGetLocalRot(); // point as I point
  vector newPos = llGetLocalPos()+toMove;
  llSetPos(newPos);
}
So there in those few lines is the answer to the question, “How can I move a bit in the direction i’m now pointing?” The answer is, rotate your desired step times your current rotation, and add it to your current position, and go there. This tiny fact, elaborated by whatever controls and calculations you want to make, is the secret to making things move, step by step, in Second Life.
To me, there are two aspects to scripting things like this: Simple Steps, and Elaborations. Let’s talk about those.
Simple Steps
I really do generally write code as simply, you might want to say “stupidly” as the code here. I have totally broken out the two functions of turning and stepping, and I’ve done each of those in very simple statements one at a time. Now I know, and you know, that could all be hammered together into one line each and it might be more efficient that way. Then again, it might not. In mono, there’s a good chance it won’t be, because the mono compiler is pretty smart. But my first priority isn’t efficiency, it’s clarity. Clarity helps me get things to work, and it helps me see what isn’t right when things don’t work. And when you’re scripting, I don’t care how good you are, often things don’t work. We make mistakes. I work simply, because then my mistakes are simple too, and they’re usually easier to find.
So, for me, simple steps, always. For you, well, do what you want, but I suggest you try working really simply too, and see how things go. You might like it.
Elaboration
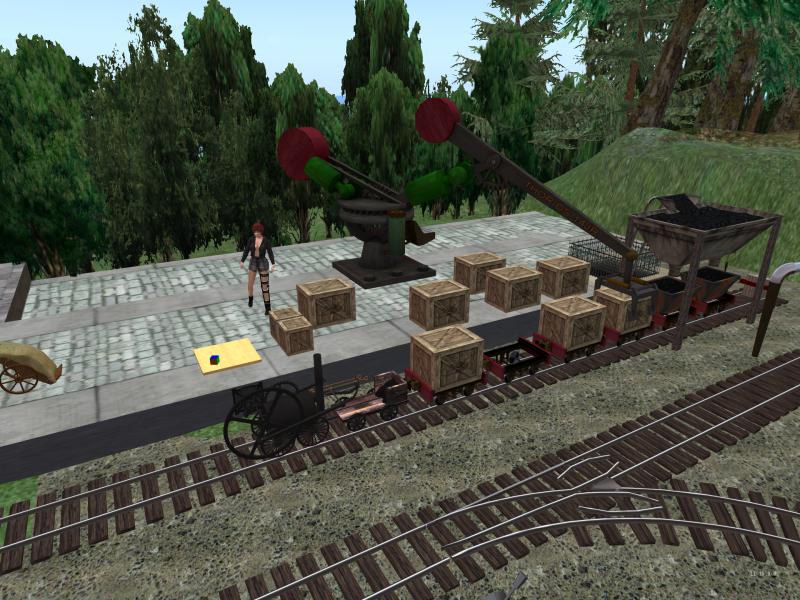
But then, when things work, you can go nuts. In a real script, one of the first things we’d do would be to replace llSetPos and llSetLocalRot with llSetLinkPrimitiveParamsFast, because that’s how you make lots of moving prims move all together and smoothly. Come to Lexicolo and find the crane that puts boxes on the train cars for an example of smoothly moving lots of prims. The featured image above shows the crane. Or look at the running gear on the Double Fairlie.
Well, if I want to use llSLPPF, as I call it, in this program, now it’s easy. I just plug it in where the other calls are. Similarly, if I want to use a control like an arrow key to do the turn, I can field that control and just call “turn”. If I want to change the size of the step, I can change it. I can change the step function to accept it as a parameter. Each and every one of those changes tends to be isolated. I don’t have to change things all over, because my Simple Steps have made most things end up in one place, easy to find and change.
Now that I have a working prototype here, I can push it in any direction, or use it as the basis for more and more complex things.
That’s how I work. If you find something good here, give it a try. If all I can do is serve as an example of how you don’t want to do things, well, that’s OK too. I hope to be more useful than that, but hey, that’s Second Life.
Thanks!

So… do I multiply my offset by the rotation of the root prim or the rotation of the child prim that I’m wanting to move? Likewise, do I add that figure to the position of the root prim or to the position of the child prim that I’m wanting to move? I always use llSLPPF, so I’m not 100% sure, but I *think* that llGetLocalRot() and llGetLocalPos() both get the values from whatever prim the script is in that’s calling them (and the wiki doesn’t seem to specify), so your code is ambiguous here, so far as I can tell. This could be being called from a root prim or a child prim; I don’t know. I’ve just come off of trying to figure this out for, like, five hours, before I found this page, and I am positively pulling my hair out. Why in the name of Anne of Green Gables LL decided to make llSLPPF’s PRIM_POS_LOCAL flag move a prim on the ROOT’S axes instead of ITS OWN “LOCAL” axes—instead of giving us a separate PRIM_POS_LOCAL_ROOT flag for using the root’s axes—is an absolute mystery to me, and I could just cry, I’m so frustrated. This really shouldn’t be complicated at all. Multiply offset by rotation then add to position?! That’s so esoteric! By the time you get around to answering this (if you answer this), I’ll probably have already figured it out myself through trial and error (I’m going to bed now, though, omg), but hopefully the answer can help any other poor sods who come here looking for answers.
I’m not sure I understand your question. Generally, to reposition a child prim by rotating its position (relative to the root) you take its offset from the root, and multiply that by the rotation (from zero) that you want the prim to move to. This is easiest to work with when you make a toy object with just two prims. There is something odd about prim pos local. I vaguely remember that this is a known bug that they can’t change because it would break existing code. I know it seems esoteric, but then one day you finally get it and then it only takes two or three hours of banging your head against the prims. Dop me a friend request and we can meet in world and see whether I can help.
Basically, though, new child offset is original child offset times final child rotation. Almost everything else follows from that.
Good luck!